

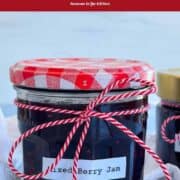
This mixed berry jam recipe is an easy small-batch jam made with fresh or frozen berries, sugar, lemon juice, and a little vanilla. It's naturally thickened without pectin and perfect for spreading on toast, scones, pancakes, or homemade bread.

Homemade jam doesn't need to be complicated. This mixed berry jam comes together with just a few simple ingredients and a gentle simmer on the stove.
We love making it with a mixture of strawberries, raspberries, blueberries, and blackberries for a sweet-tart flavor, rich color, and soft, spoonable texture.
It also works beautifully with frozen berries, so you can enjoy homemade jam any time of year. This lower-sugar, small-batch recipe is perfect for breakfast, baking, and simple homemade food gifts.
Scroll down for step-by-step photos, helpful chef's tips, and storage instructions!
Jump to:
- Why You'll Love This Mixed Berry Jam
- Ingredients You'll Need
- Seasonality: When Are Berries in Season?
- How to Make Mixed Berry Jam
- Jar and cool
- Flavor Variations, Substitutions and Add-Ins
- What to Serve with Mixed Berry Jam
- Storage Instructions
- FAQ's
- More Jam Recipes to Try
- Mixed Berry Jam Recipe (Easy Small-Batch Jam Recipe)
Why You'll Love This Mixed Berry Jam
- Easy to make - No pectin or special canning equipment needed.
- Works with fresh or frozen berries - Perfect for seasonal berries or a bag of frozen mixed berries.
- Small-batch recipe - Makes about 2-3 cups, so there's no need to make a huge batch.
- Great for gifting - Spoon into pretty sterilized jars for a thoughtful homemade food gift.
Ingredients You'll Need
This homemade mixed berry jam uses just a few simple ingredients.
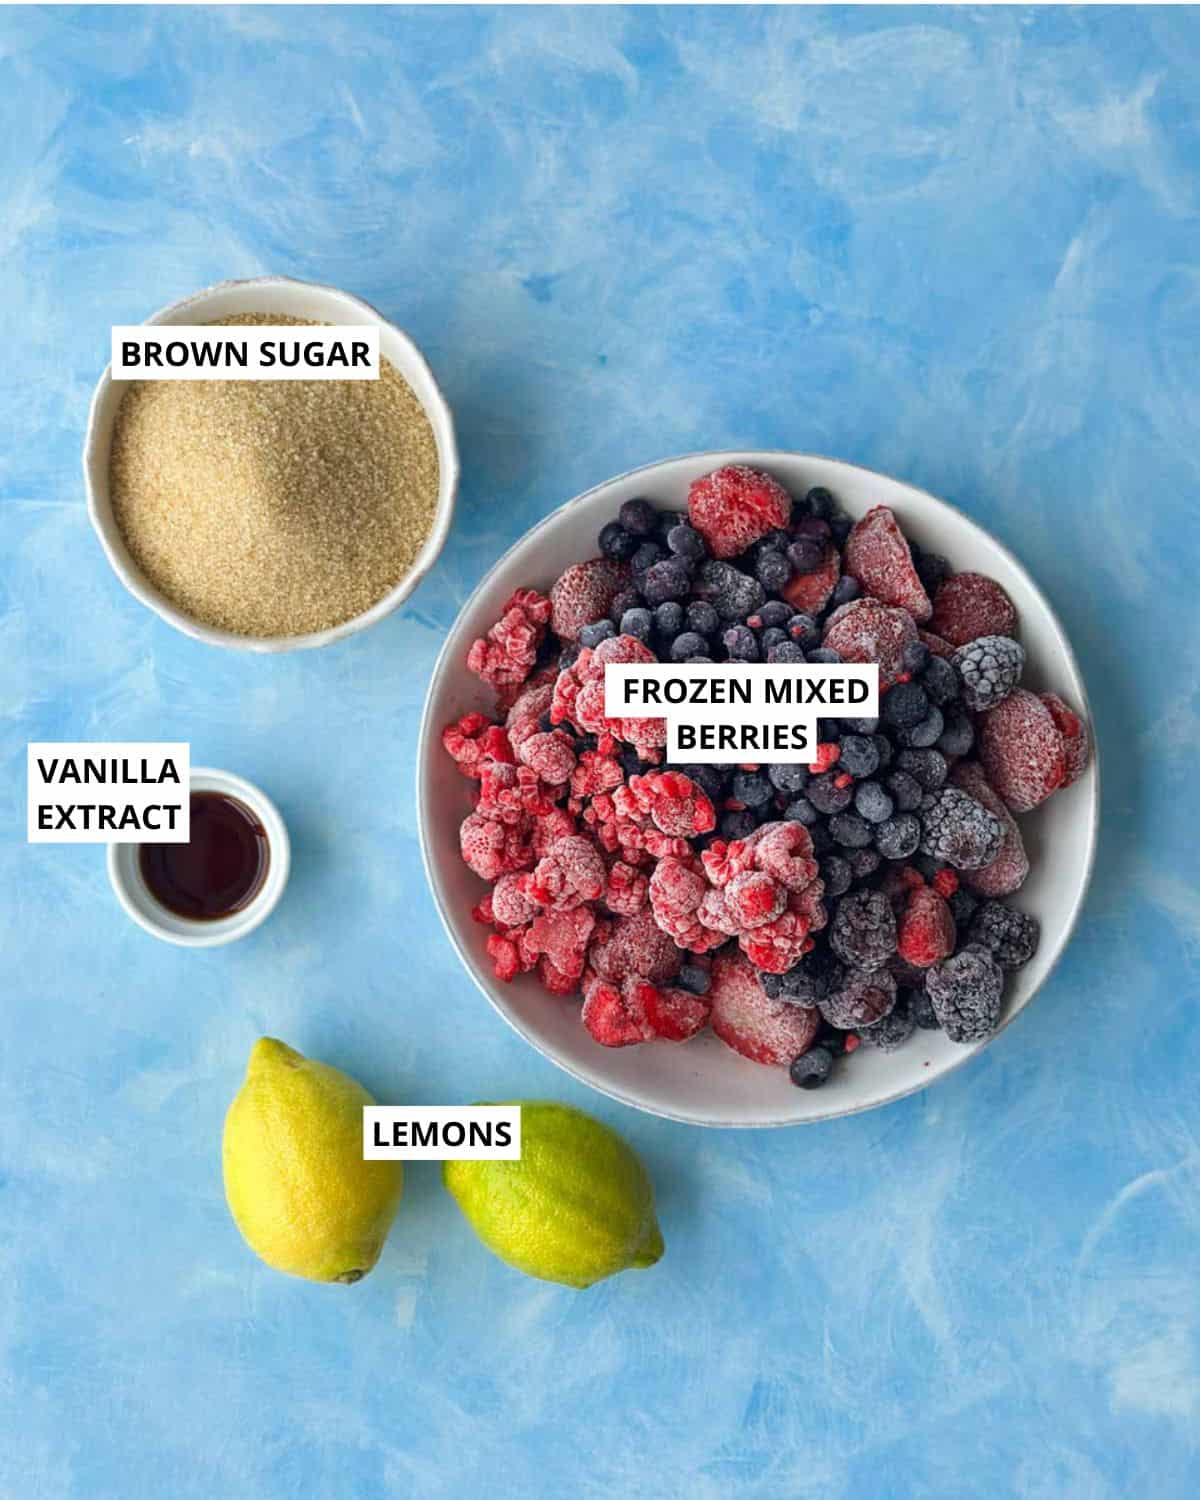
- Mixed berries - Use fresh or frozen berries. We used a mixture of frozen strawberries, raspberries, blueberries, and blackberries for a deep berry flavor and beautiful color.
- Granulated sugar - Sweetens the jam and helps it thicken as it cooks.
- Lemon juice - Adds brightness and helps balance the sweetness of the berries.
- Vanilla extract - Optional, but it adds a soft, rounded flavor that works beautifully with mixed berries.
See the recipe card for quantities.
Seasonality: When Are Berries in Season?
Berries are typically in season from late spring through summer, when they are sweet, juicy, and full of flavor.
This mixed berry jam is a lovely way to capture that bright berry flavor in a jar. It's especially delicious when made with ripe seasonal berries, but frozen berries work beautifully too.Want to learn more about when fruits are in season? Explore the USDA Seasonal Produce Guide.
How to Make Mixed Berry Jam
Macerate the berries
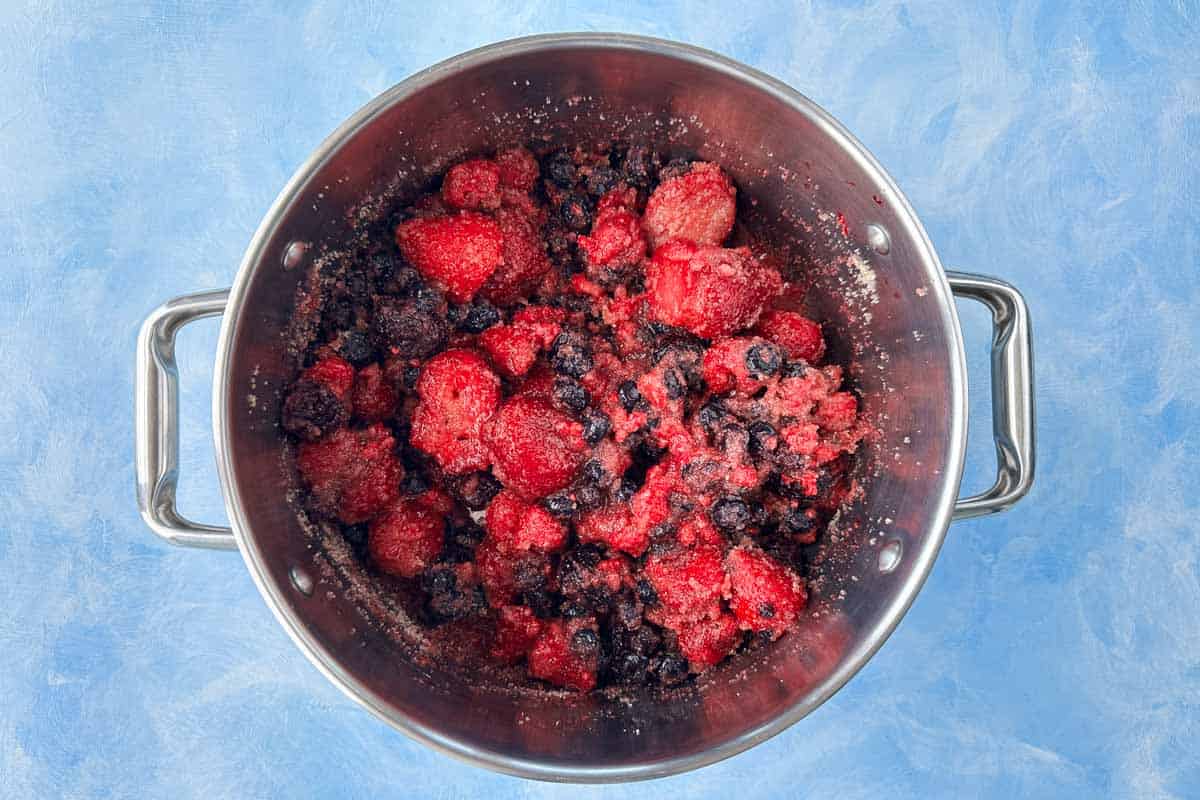
- Place the mixed berries and sugar directly into a large pot or Dutch oven. Stir gently to combine, then let the mixture sit for 30-60 minutes.
- This gives the berries time to soften and release their juices before cooking.
Chef's Tip: If using frozen berries, this step helps them defrost and start breaking down naturally. There's no need to thaw them completely first.
Start the jam
- Place the pot over medium-high heat and bring the berry mixture to a gentle boil.
- Stir occasionally as the sugar dissolves and the berries begin to release more juice.
Simmer and reduce
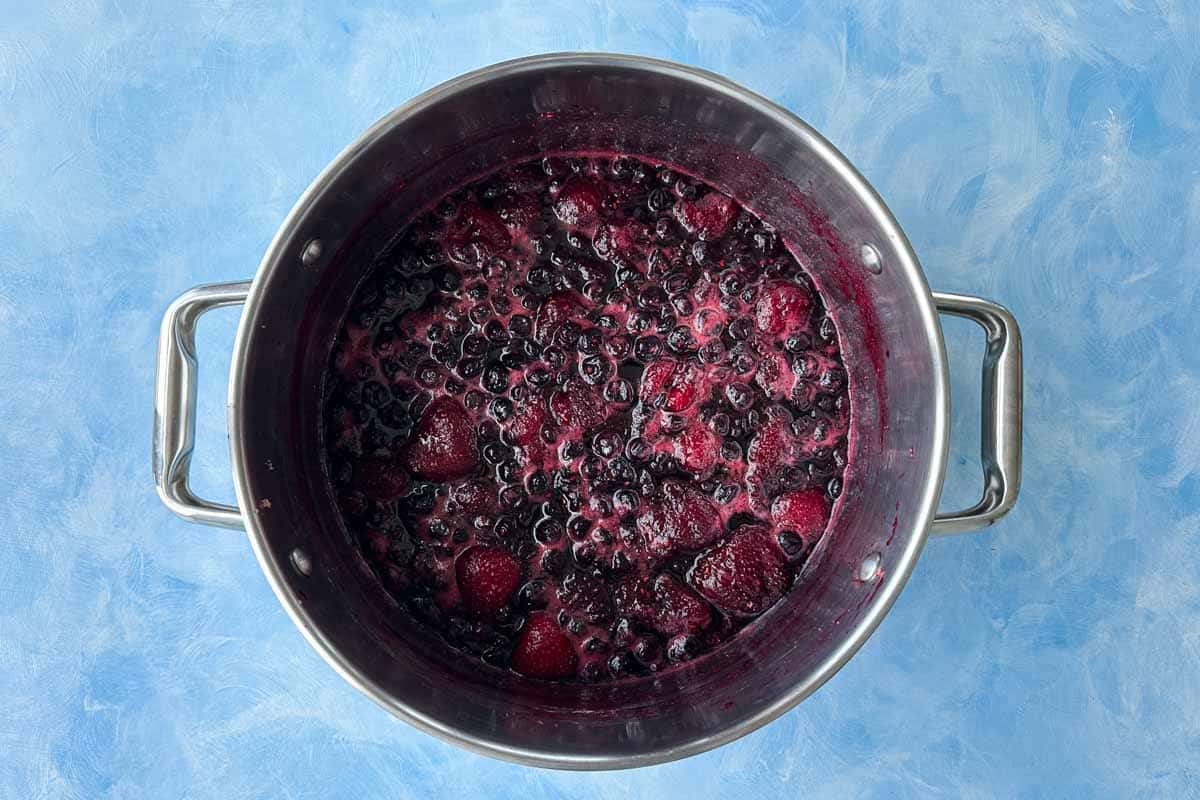
- Once boiling, reduce the heat to low and simmer for 40-50 minutes, stirring occasionally.
- The fruit will break down, the mixture will reduce, and the jam will slowly thicken.
Chef's Tip: Stir more often towards the end of cooking. This is when the jam can catch and burn on the bottom of the pot.
Skim the foam

- As the jam cooks, you may notice foam rising to the surface. Skim off any thick foam using a slotted spoon.
Chef's Tip: Don't worry about removing every little bubble. Just skim the thicker foam to help keep the jam clear and glossy.
Check the setting point
- The jam is ready when it reaches 104°C / 220°F, or when it coats the back of a spoon and slowly drips off
No thermometer? Use the chilled plate test.
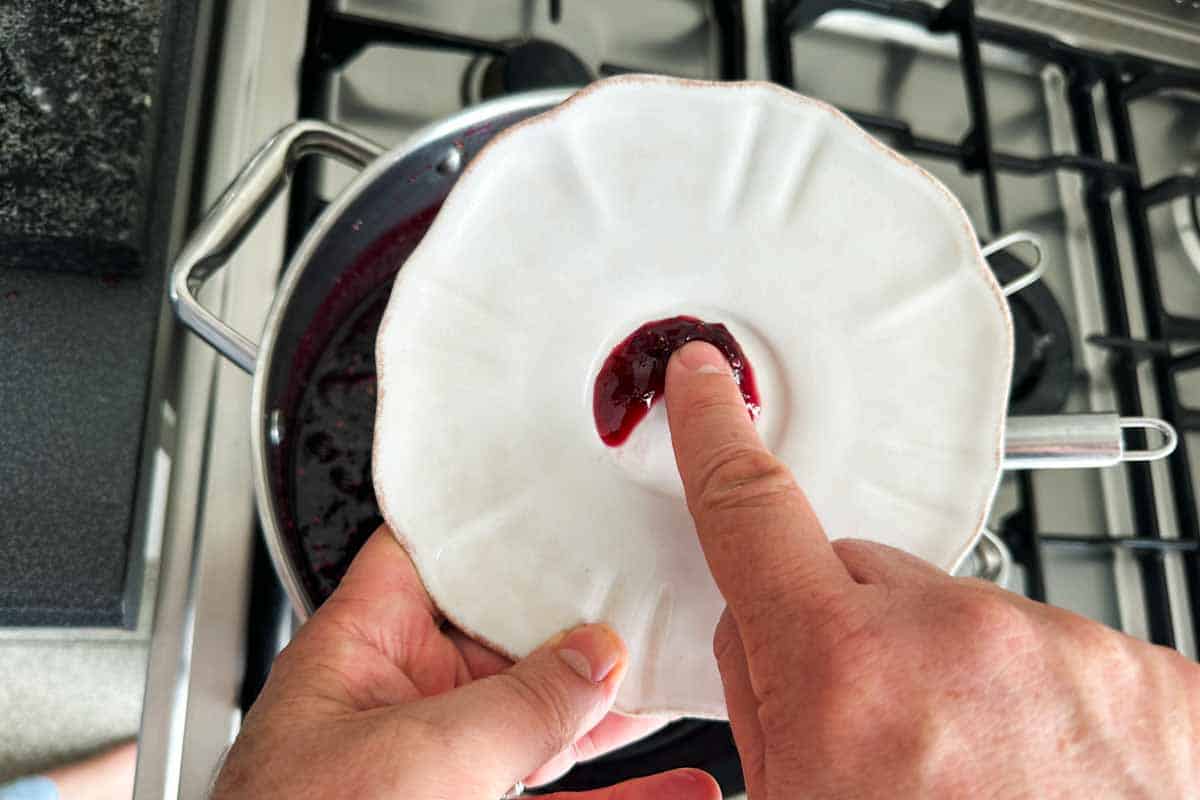
- Place two small plates in the freezer before you start cooking. When you think the jam is ready, spoon a little jam onto a cold plate and let it cool for 1 minute. Gently push it with your finger. If the surface wrinkles and holds its shape, the jam is set.
- If it's still runny, continue simmering for a few more minutes and test again.
Finish the jam
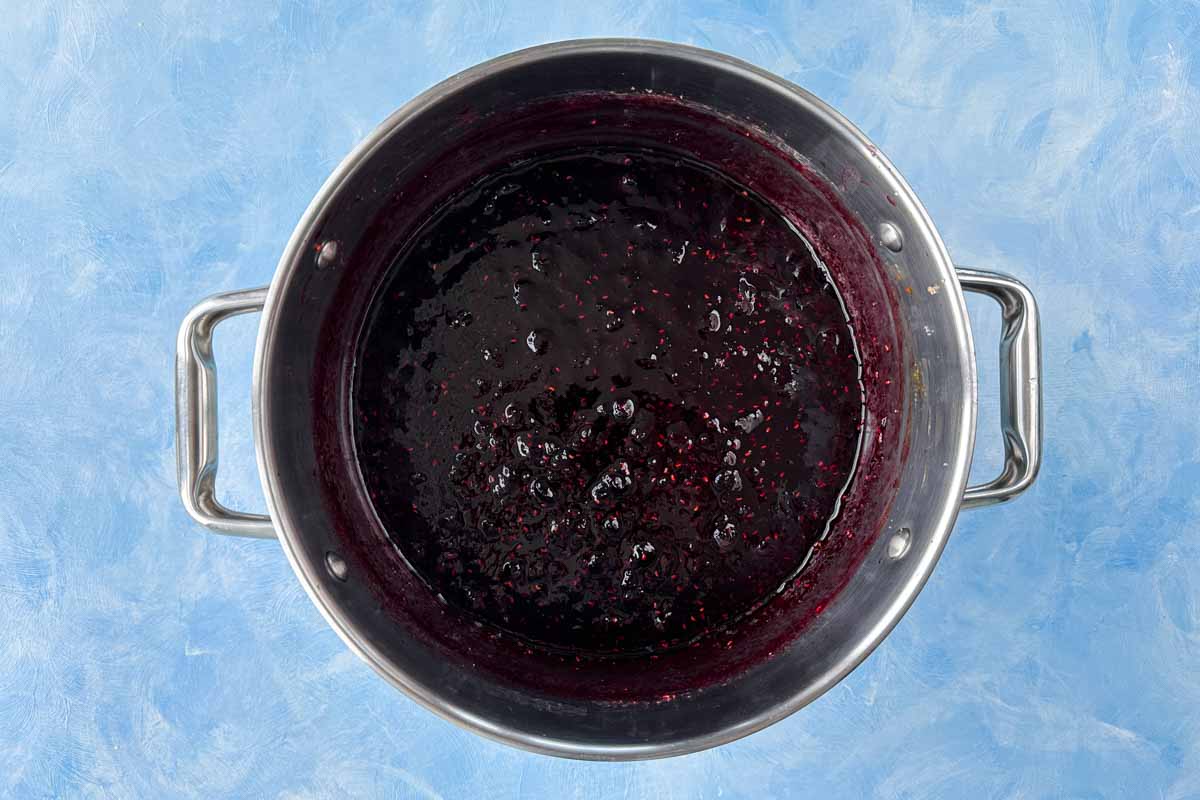
- Stir in the lemon juice and vanilla extract, if using.
- Remove the pot from the heat and let the jam cool for 5-10 minutes before jarring.
Jar and cool
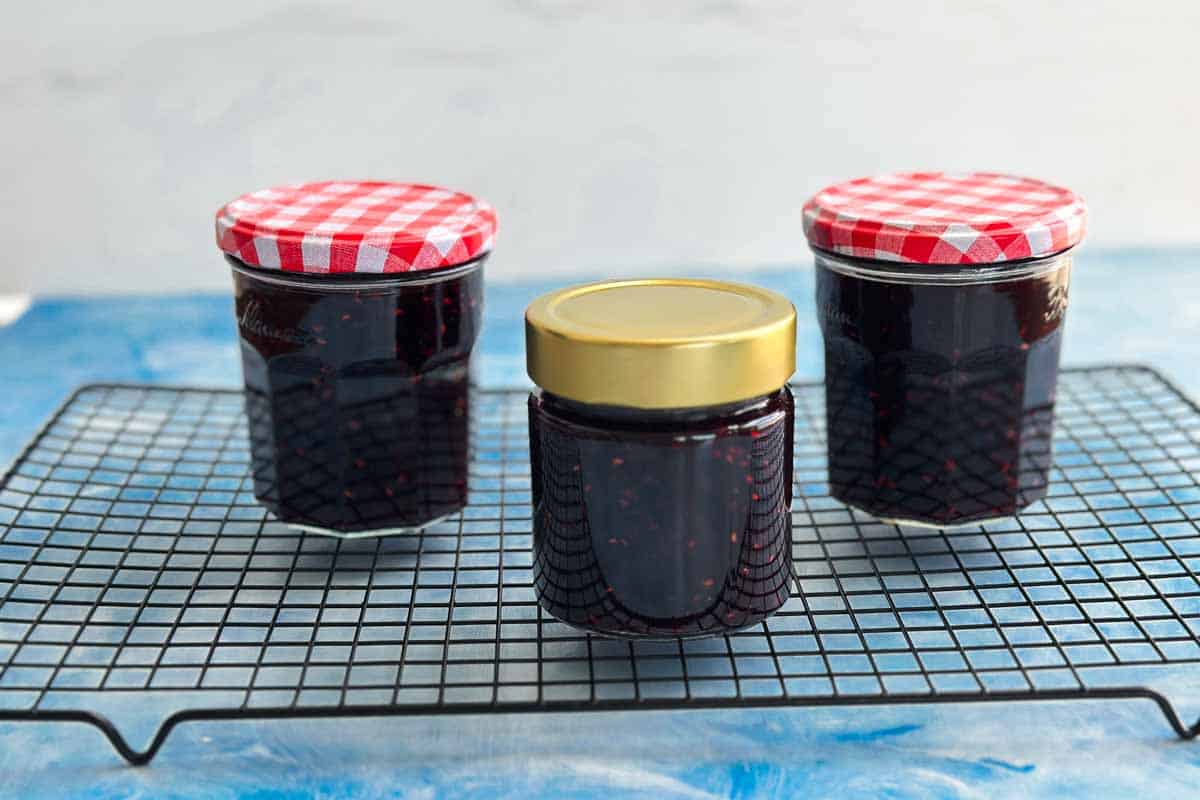
- Spoon the jam into warm, sterilized jars, leaving about 0.5 cm / ¼ inch headspace.
- Seal the jars and allow the jam to cool completely.
Chef's Tip: For the best result, use warm sterilized jars so the hot jam does not crack cold glass. If you need help, follow our full guide on how to sterilize glass jars for jams, pickles, and preserves.
Flavor Variations, Substitutions and Add-Ins
This easy mixed berry jam is simple to adapt depending on what you have on hand.
- Use different berries - Try any combination of strawberries, raspberries, blueberries, blackberries, or cherries.
- Add citrus zest - Lemon or orange zest adds extra brightness.
- Try a little spice - A small pinch of cinnamon, cardamom, or ginger works beautifully with berries.
- Add herbs - A little fresh thyme or basil can give the jam a more grown-up flavor.
What to Serve with Mixed Berry Jam
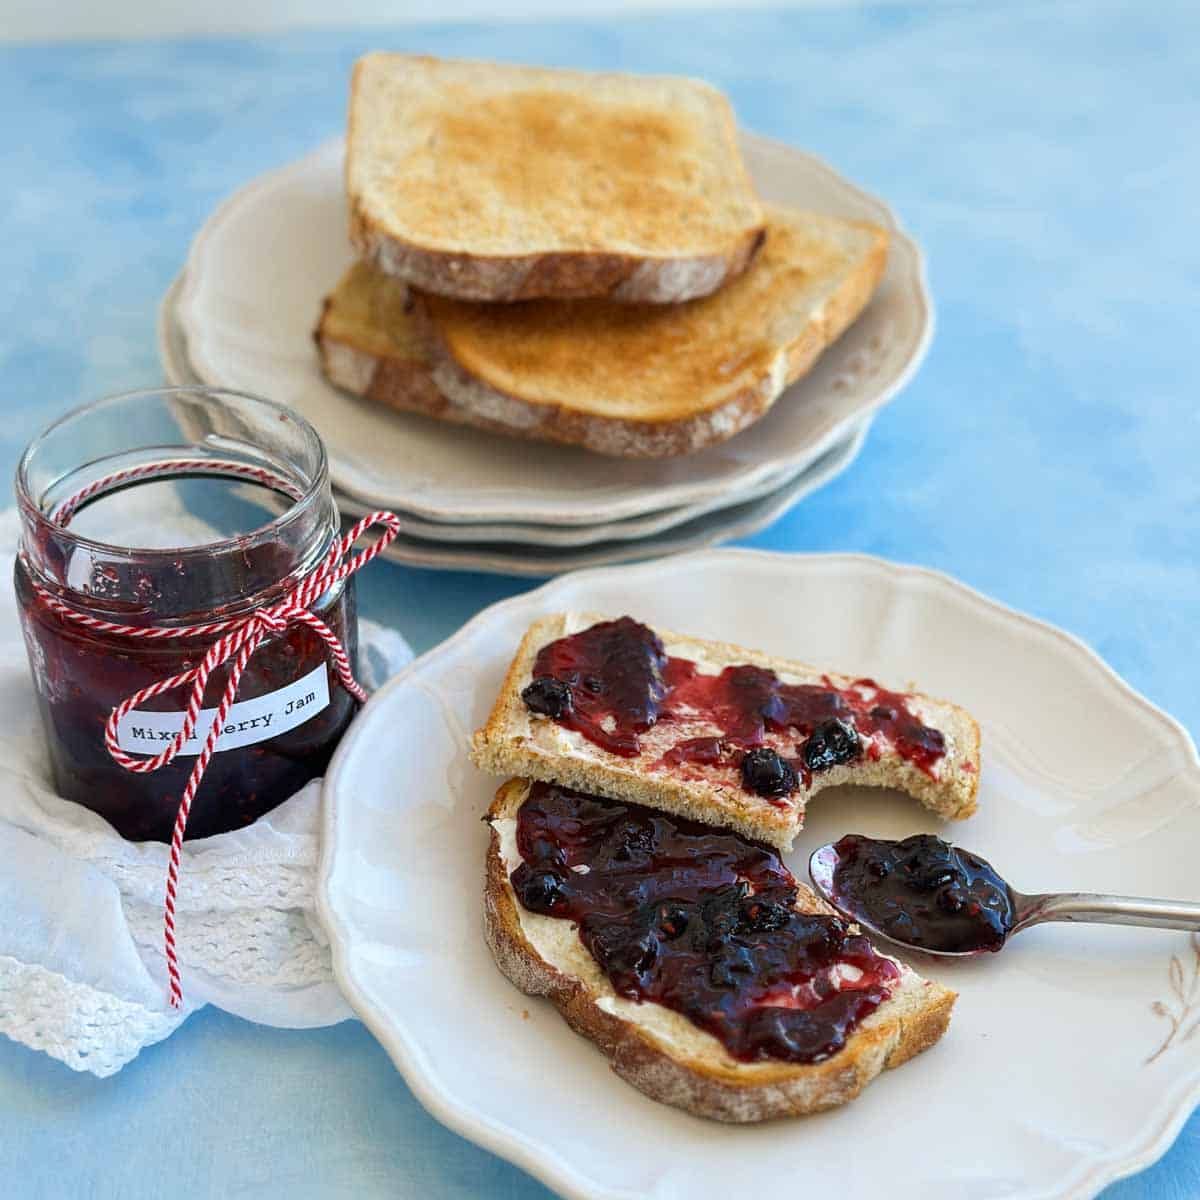
This homemade mixed berry jam is delicious with breakfast, baking, and simple afternoon treats.
- Toast and homemade bread - Spread it over warm toast, sourdough, or our Easy No-Knead Bread.
- Scones and muffins - Serve with warm scones or spoon over our Blueberry Banana Muffins.
- Pancakes and French toast - Try it with our Fluffy Greek Yogurt Pancakes, waffles, or French toast.
- Oatmeal and yogurt - Swirl into warm oatmeal, overnight oats, or plain Greek yogurt.
- Cookies and bars - Use it in berry crumble bars, sandwich cookies, or Thumbprint Cookies.
- Food gifts - Add a pretty label and ribbon to the jar for a thoughtful homemade gift.
Storage Instructions
Cool, dark place: Store sealed jars in a cool, dark place for 1-2 months.
Fridge: Once opened, refrigerate and use within 1 month.
Important note:This is a lower-sugar, small-batch jam, so it is not shelf-stable for long-term storage like traditional canned jams.
For longer storage, keep the jam refrigerated or freeze it in freezer-safe containers.
FAQ's
A : The jam may need more time to reduce. Continue simmering for a few minutes, stirring often, then test again using a chilled plate. This is also a lower-sugar jam, so it will have a softer set than traditional high-sugar jam.
A : Yes. It's best to spoon the hot jam into warm, sterilized jars.
A : Yes. Jam continues to thicken as it cools, so don't worry if it looks slightly loose when hot. Once cooled, it should be glossy and spoonable.
More Jam Recipes to Try
If you enjoy homemade jam recipes, you may also like:
- Middle Eastern Quick Pickles (Cucumber, Cabbage and Carrot)
- Healthy Blueberry Chia Seed Jam Recipe (No Refined Sugar)
- Easy Homemade Apricot Jam Recipe (with fresh apricots)


This mixed berry jam is a simple, flexible recipe to keep on hand for breakfast, baking, and homemade food gifts. It's bright, fruity, and easy to make with fresh or frozen berries.
Give it a try and let us know in the comments how it turned out! Don't forget to Pin it for later or share it with a friend.
Print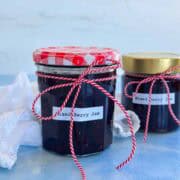
Mixed Berry Jam Recipe (Easy Small-Batch Jam Recipe)
- Total Time: 1h20 - 2hrs
- Yield: About 2-3 cups / 500-750 ml 1x
- Diet: Vegetarian
Description
This mixed berry jam recipe is an easy small-batch jam made with fresh or frozen berries, sugar, lemon juice, and a little vanilla. It's naturally thickened without pectin and perfect for spreading on toast, scones, pancakes, or homemade bread.
Ingredients
1kg (6 - 7 cups) mixed berries (fresh or frozen)
300 g (1 ½ cups) granulated sugar
Juice of 1 lemon (2-3 tbsp)
2 tsp vanilla extract (optional)
Instructions
1. Macerate the berries
Place the mixed berries and sugar directly into a large pot or Dutch oven. Stir gently to combine and let sit for 30-60 minutes, allowing the berries to soften and release their juices.
Chef's Tip: If using frozen berries, this step helps them defrost and start breaking down naturally-no need to thaw completely first.
2. Start the jam
Place the pot over medium-high heat and bring the mixture to a gentle boil, stirring occasionally as the sugar dissolves.
3. Simmer and reduce
Once boiling, reduce the heat to low and simmer for 40-50 minutes, stirring occasionally, until the fruit breaks down and the mixture thickens.
Chef's Tip: Stir more frequently towards the end of cooking-this is when the jam can catch and burn on the bottom.
4. Skim if needed
As the jam cooks, skim off any foam from the surface using a slotted spoon.
Chef's Tip: Don't worry about removing every bit-just the thicker foam. This keeps your jam clear and glossy.
5. Check for setting point
The jam is ready when it reaches 104°C (220°F) or when it coats the back of a spoon and slowly drips off.
Chef's Tip: No thermometer? Use the chilled plate test. Place two small plates in the freezer before you start cooking. When you think the jam is ready, spoon a little onto the cold plate and let it cool for 1 minute. Gently push it with your finger-if the surface wrinkles and holds its shape, the jam is set. If it's still runny, continue simmering for a few more minutes and test again.
6. Finish the jam
Stir in the lemon juice and vanilla extract (if using). Remove from heat and let the jam cool for 5-10 minutes.
7. Jar and cool
Spoon the jam into warm, sterilized jars, leaving about 0.5 cm (¼ inch) headspace. Seal and allow to cool completely.
Notes
Storage Instructions
Cool, Dark Place: Store sealed jars in a cool, dark place for 1-2 months.
Fridge: Once opened, refrigerate and use within 1 month.
Freezer Instructions: Freeze in freezer-safe containers for up to 6 months. Thaw overnight in the refrigerator before using.
Chef's Note: This is a lower-sugar, small-batch jam, so it has a softer set than traditional high-sugar jams. It is not shelf-stable for long-term storage like traditional canned jams.
- Prep Time: 10 minutes (+ 30 - 60 minutes of macerating)
- Cook Time: 40 -50 minutes
- Category: Jam
- Method: Stovetop
- Cuisine: International
Nutrition
- Serving Size: 1 tablespoon serving
- Calories: 55
- Sugar: 11.4 g
- Sodium: 0.1 mg
- Fat: 0 g
- Carbohydrates: 14.2 g
- Protein: 0.2 g
- Cholesterol: 0 mg
The nutrition is an estimate only. It was calculated using Nutrifox, an online nutrition calculator.

Leave a Reply