
Learn how to sterilize glass jars for homemade jams, quick pickles, chutneys, preserves, and other small-batch recipes. This simple guide covers the boiling water method, plus how to prepare jars in the oven, microwave, and dishwasher.
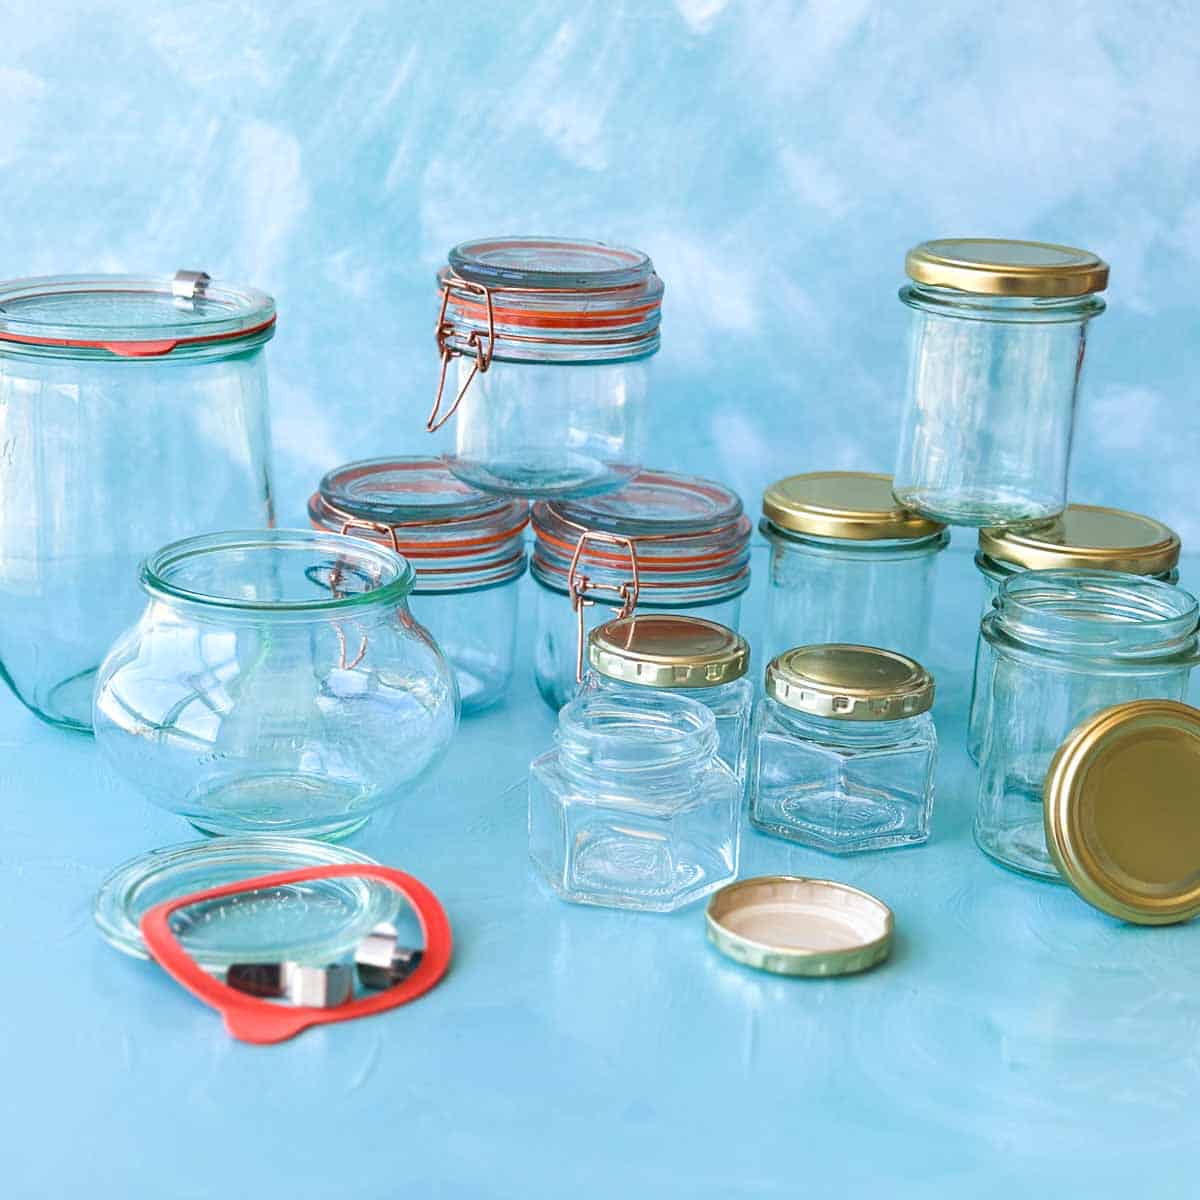
Learning how to sterilize glass jars is an important first step when making homemade jams, pickles, and preserves. Clean, properly prepared jars help keep your food fresh, reduce the risk of spoilage, and make the preserving process easier from the start.
Jump to:
- Why Sterilize Glass Jars?
- Before You Start: Wash and Check Your Jars
- How to Sterilize Jars in the Oven
- How to Sterilize Jars in Boiling Water
- How to Sterilize Jars in the Microwave
- How to Sterilize Jars in the Dishwasher
- How to Air Dry Sterilized Jars
- What About the Lids?
- How to Keep Jars Hot Before Filling
- Top Tips for Sterilizing Glass Jars
- FAQ's
- Want to Try Some of Our Jams and Pickles?
Why Sterilize Glass Jars?
Sterilizing jars helps reduce bacteria, yeasts, and molds that can spoil homemade jams, jellies, pickles, and preserves. It's especially important for recipes with a short processing time or small-batch preserves stored in the fridge.
For shelf-stable canning, always follow a tested recipe and check the National Center for Home Food Preservation guide for current jar sterilizing recommendations.
Before You Start: Wash and Check Your Jars
Before sterilizing or heating jars, always start with clean glass jars.
Wash the jars in hot soapy water, rinse well, and check each jar carefully. Look for cracks, chips, or rough edges around the rim. Any damaged jars should be discarded, as they may not seal properly and can break when exposed to heat.
You'll also want to use new lids for canning-style recipes. Metal canning lids are designed for one-time sealing, while screw lids can be reused if they are clean and rust-free.
How to Sterilize Jars in the Oven
This is the method we use most often for homemade jams, preserves, and quick pickles. It's simple, hands-off, and an easy way to have clean, hot jars ready when your recipe is finished.
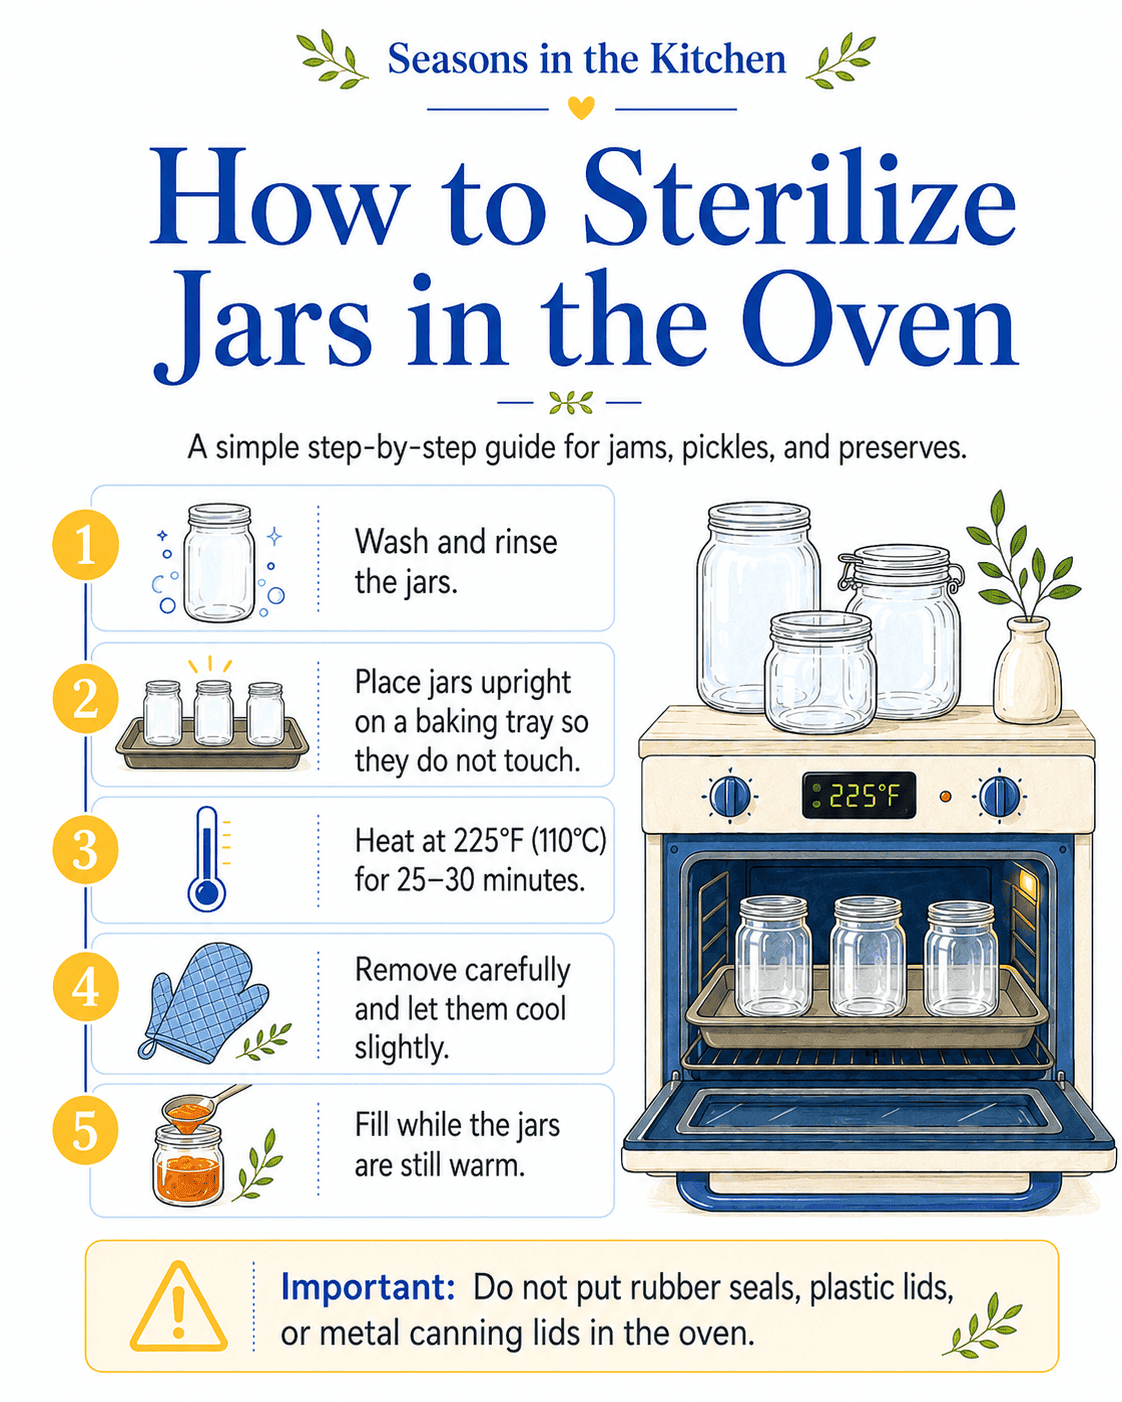
- Wash and rinse the jars. Wash the jars in hot soapy water, then rinse well.
- Place on a baking tray. Arrange the jars upright on a clean baking tray, making sure they are not touching.
- Heat in the oven. Place the jars in a low oven at 225°F (110°C) for 25-30 minutes.
- Cool slightly before filling. Carefully remove the jars with oven gloves and let them cool slightly before adding hot jam, preserves, or pickles.
- Fill while warm. The jars should still be warm when filled, but not so hot that they are difficult to handle safely.
Canning Reminder: For shelf-stable canning, always follow a tested recipe and check the National Center for Home Food Preservation guide for proper jar sterilizing guidance.
Important: Do not put rubber seals, plastic lids, or metal canning lids in the oven. Prepare lids and seals separately according to the manufacturer's instructions.
How to Sterilize Jars in Boiling Water
This is the most reliable method when jars need to be properly sterilized for canning-style recipes.

- Wash the jars. Wash the jars in hot soapy water and rinse well.
- Place in a large pot. Put the jars in a large pot or water bath canner. Use a rack or a folded tea towel at the bottom of the pot to stop the jars from rattling.
- Start with cold water. Cover the jars with cold water. This helps the jars heat gradually and reduces the risk of cracking.
- Bring to a boil. Bring the water to a full boil, then boil the jars for 10 minutes.
- Prepare the lids and seals. Immerse lids and seals in hot water for about 20 seconds, or follow the manufacturer's instructions.
- Drain and air dry. Carefully remove the jars, drain well, and place them upside down on a clean tea towel to air dry.
- Fill while warm. Fill the jars while they are still warm, following your recipe instructions.
Canning Reminder: For shelf-stable canning, always follow a tested recipe and check the National Center for Home Food Preservation guide for proper jar sterilizing guidance.
Chef's Tip: Try to time your jars so they're ready around the same time as your jam, pickles, or preserves. Warm food should go into warm jars to help prevent the glass from cracking.
How to Sterilize Jars in the Microwave
The microwave method is a quick option for small jars or bottles, especially for fridge jams, sauces, or quick-use preserves. Use this method only for microwave-safe glass jars without metal parts.
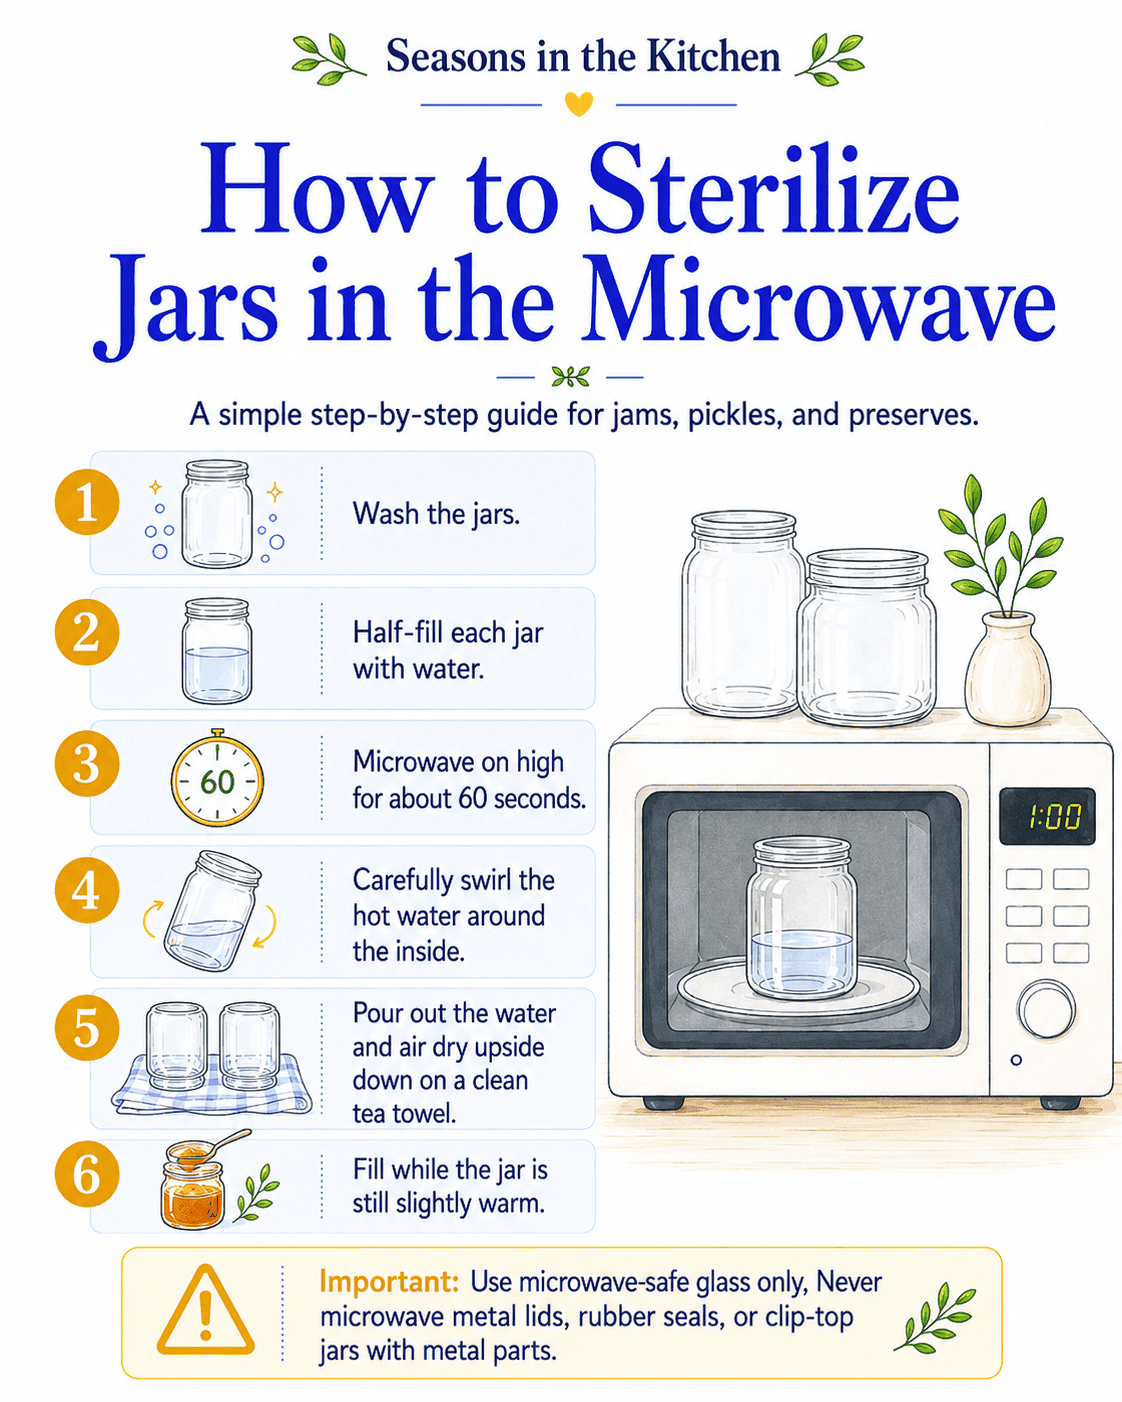
- Wash the jars. Wash in hot soapy water and rinse well.
- Add water. Half-fill each jar with water.
- Microwave. Microwave on high for about 60 seconds, depending on the size of the jar.
- Swirl carefully. Using oven gloves, carefully swirl the hot water around the inside of the jar.
- Drain and air dry. Pour out the water carefully, then place the jar upside down on a clean tea towel to air dry.
- Use once ready. Fill while the jar is still slightly warm.
Canning Reminder: For shelf-stable canning, always follow a tested recipe and check the National Center for Home Food Preservation guide for proper jar sterilizing guidance.
Important: Never microwave metal lids, rubber seals, clip-top jars with metal hinges, or jars that are not microwave-safe.
How to Sterilize Jars in the Dishwasher
A dishwasher is a handy way to clean and heat several jars at once, especially when making a larger batch of jam, preserves, or quick pickles.
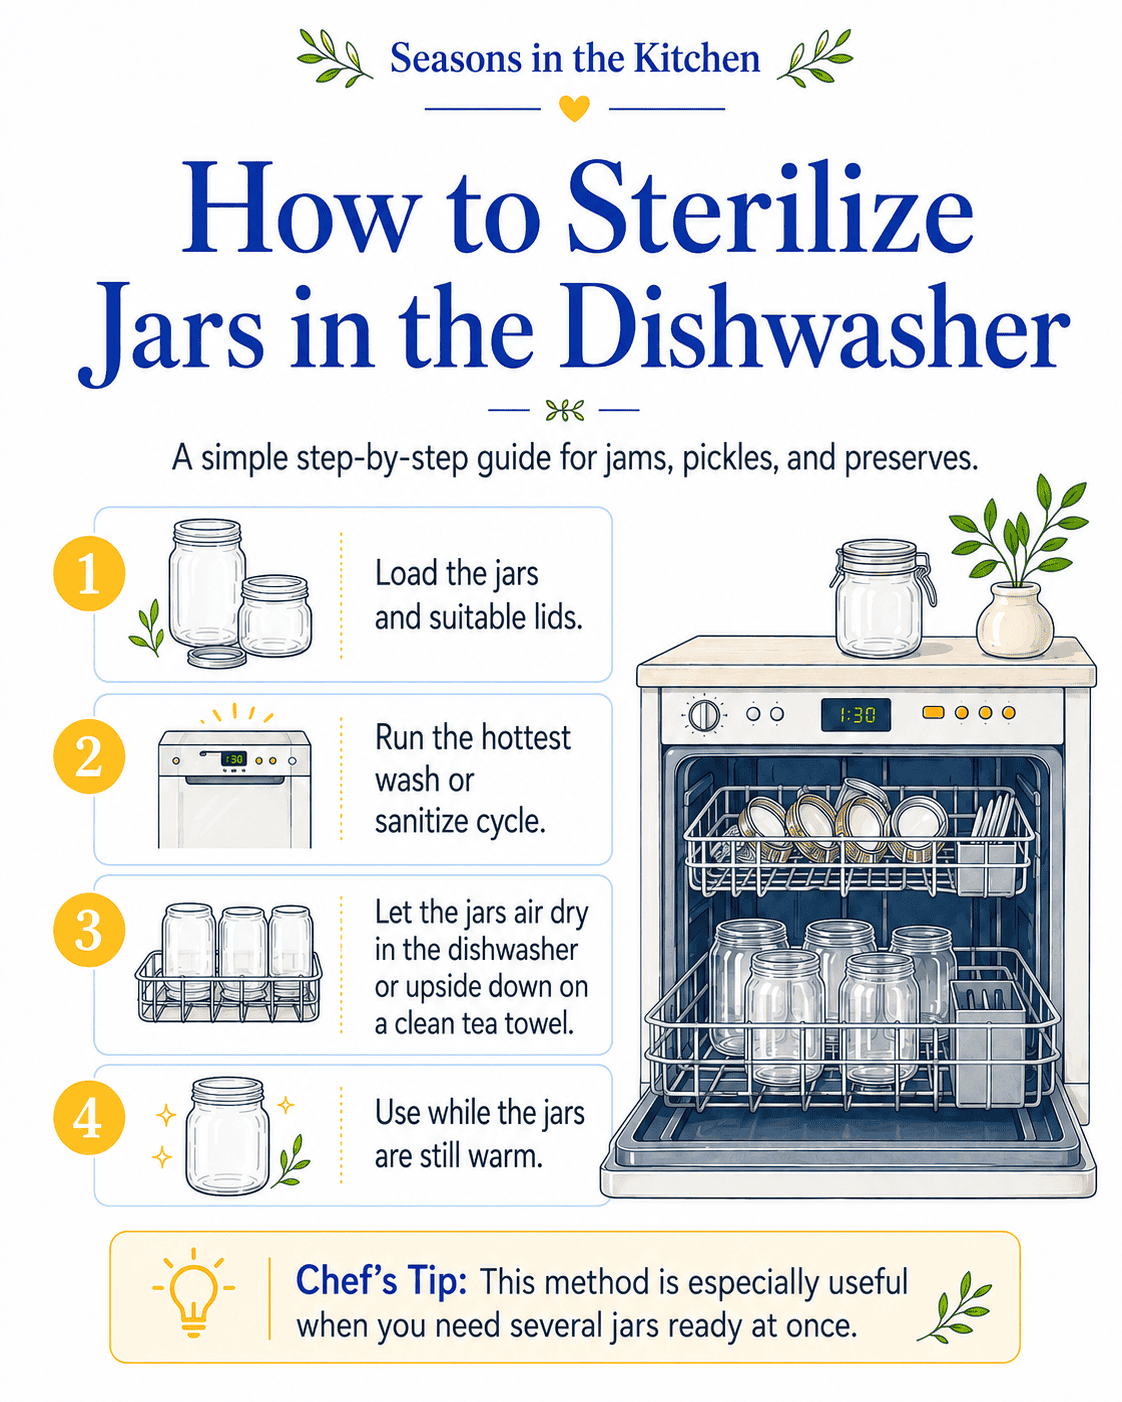
- Load the jars and lids. Place the jars and suitable lids in the dishwasher.
- Run a hot cycle. Use the hottest wash or sanitize cycle available.
- Let them air dry. Allow the jars to air dry in the dishwasher, or place them upside down on a clean tea towel.
- Use while warm. Try to time the cycle so the jars are still warm when your recipe is ready.
Canning Reminder: For shelf-stable canning, always follow a tested recipe and check the National Center for Home Food Preservation guide for proper jar sterilizing guidance.
Chef's Tip: This method is especially useful when you need several jars ready at once.
How to Air Dry Sterilized Jars
After sterilizing, place the jars upside down on a clean tea towel and let them air dry. This allows any water to drain away without drying the inside of the jars with a cloth, which can reintroduce bacteria or lint.
Try not to touch the inside of the jars once they have been sterilized. Handle them from the outside and fill them as soon as they are ready.
What About the Lids?
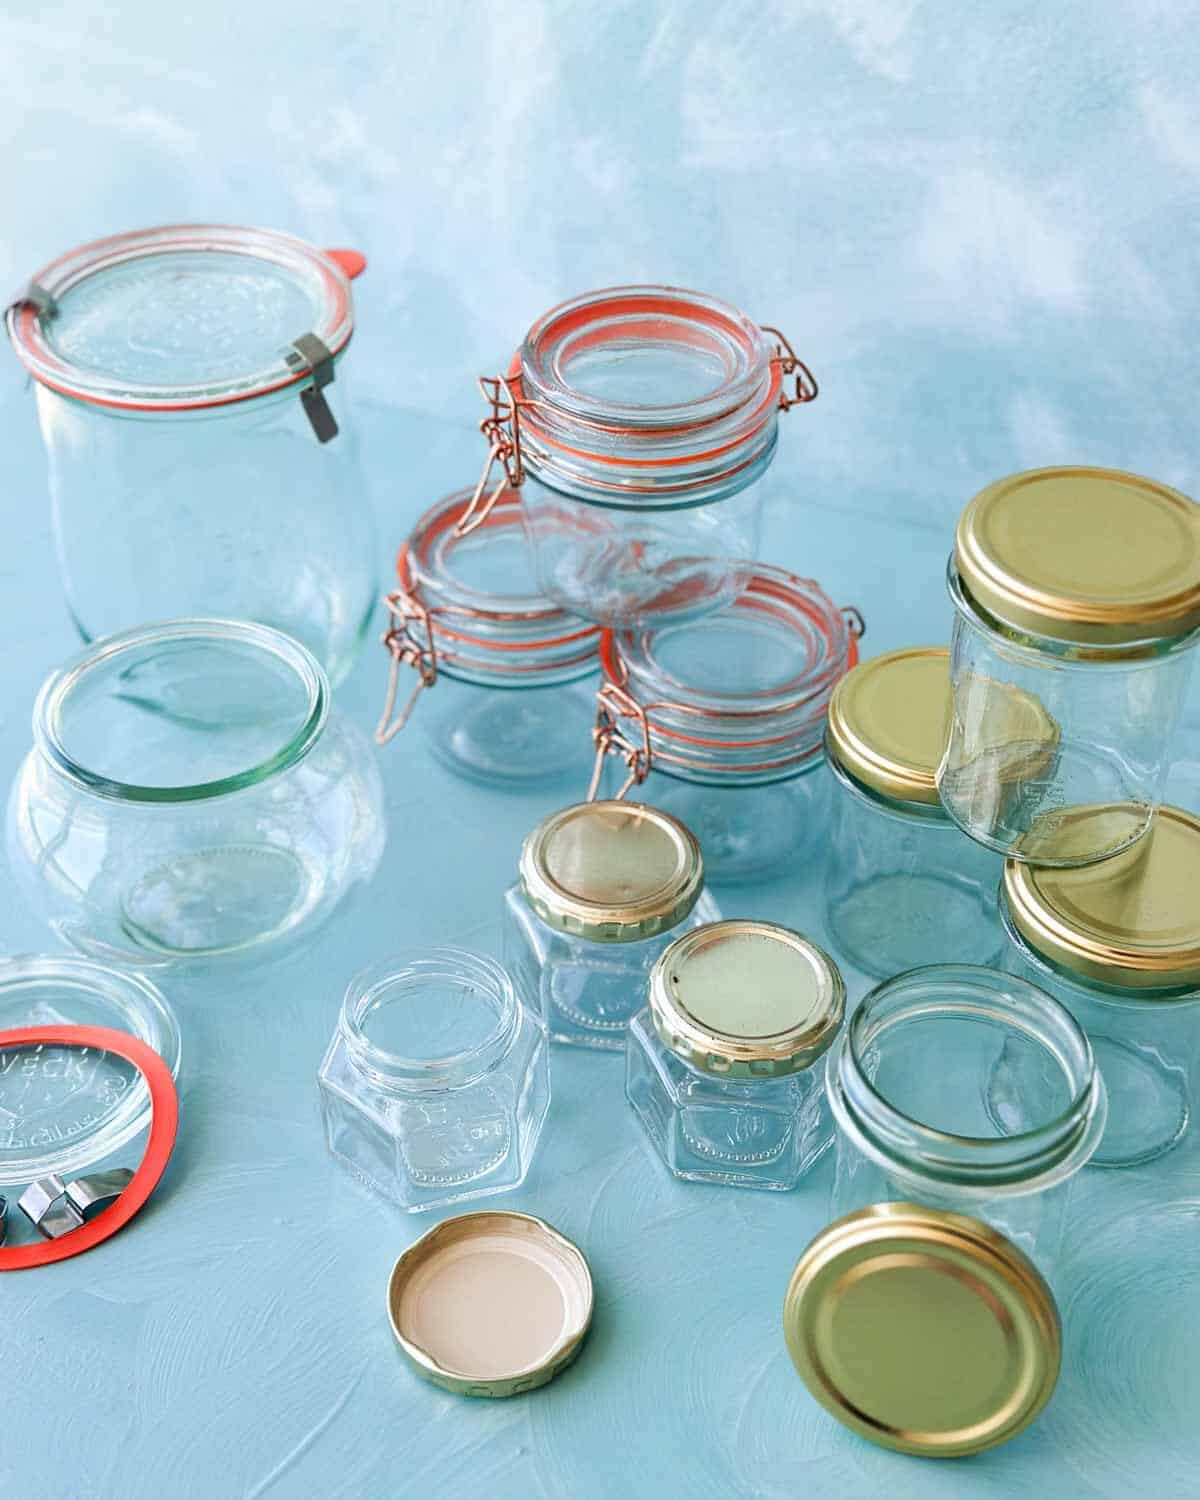
Lids and seals should be clean and prepared separately. For the boiling water method, you can immerse lids and seals in hot water briefly, or follow the manufacturer's instructions.
Avoid placing metal lids in the microwave or oven. If you're using clip-top jars, rubber seals, or reusable lids, check the manufacturer's guidance before heating.
How to Keep Jars Hot Before Filling
Once your jars are clean and hot, keep them warm until you're ready to fill them. This helps prevent the glass from cracking when you add hot jam, jelly, or pickling liquid.
The easiest way is to leave the jars in the hot water, keep them in the oven or closed dishwasher after a hot cycle, or place them on a clean kitchen towel and fill them straight away.
Chef's Tip: Try to time your jars so they're ready at the same time as your recipe. Hot food should go into hot jars for the best result.
Top Tips for Sterilizing Glass Jars
- Always wash jars first in hot soapy water.
- Check jars for cracks, chips, or damaged rims.
- Let sterilized jars air dry upside down on a clean tea towel.
- Avoid touching the inside of sterilized jars.
- Fill warm jars with warm or hot preserves.
- Never microwave metal lids or clip-top jars with metal parts.
- Follow a tested canning recipe for shelf-stable preserves.
FAQ's
A : Yes, old glass jam jars can be reused for fridge storage, jams, pickles, and sauces, as long as they are clean and free from chips or cracks. For proper canning, use suitable preserving jars and lids.
A : It depends on the type of lid and what you're making. For shelf-stable canning, follow the lid manufacturer's instructions. Metal canning lids are usually designed for one-time sealing, while some reusable lids and rubber seals have their own care instructions.
Want to Try Some of Our Jams and Pickles?
Now that you know how to sterilize glass jars, here are a few homemade jams and quick pickles to try next. These recipes are perfect for practicing your jar prep and adding a few seasonal staples to your fridge or pantry.
- Mixed Berry Jam - A simple homemade berry jam made with sweet, juicy seasonal berries.
- Spiced Christmas Jam - A cozy homemade holiday jam made with warm spices, perfect for gifting or serving with cheese boards.
- Homemade Apricot Jam - A fresh apricot jam that's lovely on toast, scones, or spooned over yogurt.
- Blueberry Chia Seed Jam - A quick blueberry chia jam made without refined sugar.
- Quick Pickled Red Onions - A fridge pickle we love for salads, tacos, sandwiches, and mezze platters.
- Middle Eastern Quick Pickles - A colorful mix of cucumber, cabbage, and carrot, perfect with falafel, kebabs, and rice bowls.
Learning how to sterilize glass jars is a simple kitchen skill that makes homemade jams, pickles, and preserves much easier. Whether you use the oven, boiling water, microwave, or dishwasher, the key is to start with clean jars, handle them carefully, and let them air dry upside down on a clean tea towel before filling.




Leave a Reply