
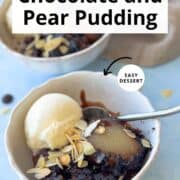
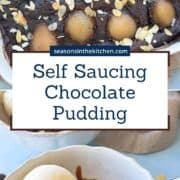
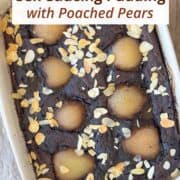
Chocolate Self Saucing Pudding is the kind of warm, cozy dessert that feels right at home during the holidays or on a chilly evening. This simple pudding creates its own rich chocolate sauce as it bakes - and pairing it with tender poached pears makes it extra special. Made from pantry staples and no mixer required.
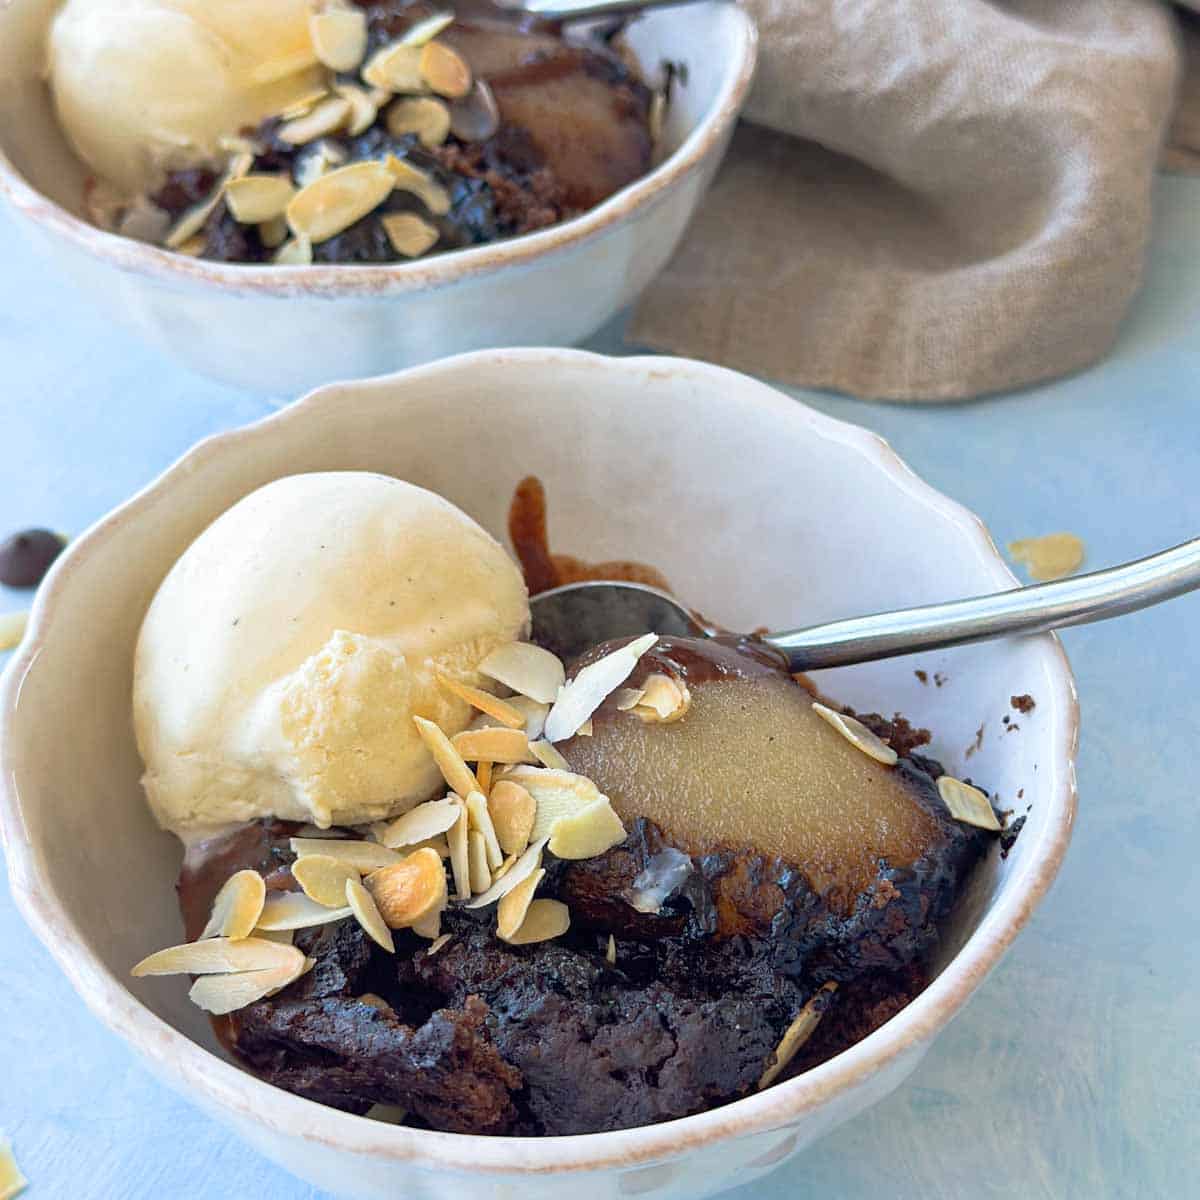
If you've never made a self-saucing pudding before, you're in for a treat. This classic dessert transforms a simple chocolate batter into a soft, fluffy cake with a warm fudgy sauce underneath - all in one baking dish. It's the perfect easy dessert for family gatherings, Sunday lunches, or holiday entertaining.
With ingredients you likely already have on hand and a quick prep time, this recipe delivers an elegant result without any fuss. The poached pears nestle beautifully into the batter and bake until soft and fragrant, making every scoop rich, comforting, and slightly sophisticated.
Scroll down for step-by-step photos, helpful tips, and fun flavor variations!
Jump to:
Ingredients You'll Need
Here's a quick look at the key ingredients that make this pudding so delicious:

- Caster sugar - Sweetens the cake and helps form the glossy chocolate sauce.
- Unsweetened cocoa powder - Use natural or Dutch-process for deep chocolate flavor and color.
- Self-raising flour - Gives the pudding its lift and soft, cake-like texture.
- Unsalted butter - Adds richness and moisture to the batter.
- Milk - Thins the batter just enough while keeping it tender.
- Vanilla extract - Enhances the chocolate flavor.
- Egg - Helps bind everything and gives the pudding structure.
- Poached pears - Soft, fragrant pears baked right into the pudding (use our How to Poach Pears recipe).
- Boiling water - The secret to creating the self-saucing layer beneath the cake.
See the recipe card for quantities.
How to Make Chocolate Self Saucing Pudding
Tested in our kitchen and loved by our readers-this recipe is a warm, saucy chocolate dream you'll want to make again and again.


Preheat the oven
Heat your oven to 180°C (350°F). Lightly butter a 30 x 20cm (13'' x 9'') baking dish.
Combine the dry ingredients
In a small bowl combine ½ cup (110 g) caster sugar, and ¼ cup (25 g) cocoa powder, set aside. In a large bowl, sift together the self-raising flour and ¼ cup (25 g) cocoa powder. Mix in the remaining ½ cup (110 g) caster sugar.
Combine the wet ingredients
In a separate bowl, whisk together the melted butter, milk, vanilla extract, and egg until combined.

Make the batter
Pour the wet mixture into the dry ingredients and mix until just combined (do not overmix). The batter should be thick.


Make the pudding base
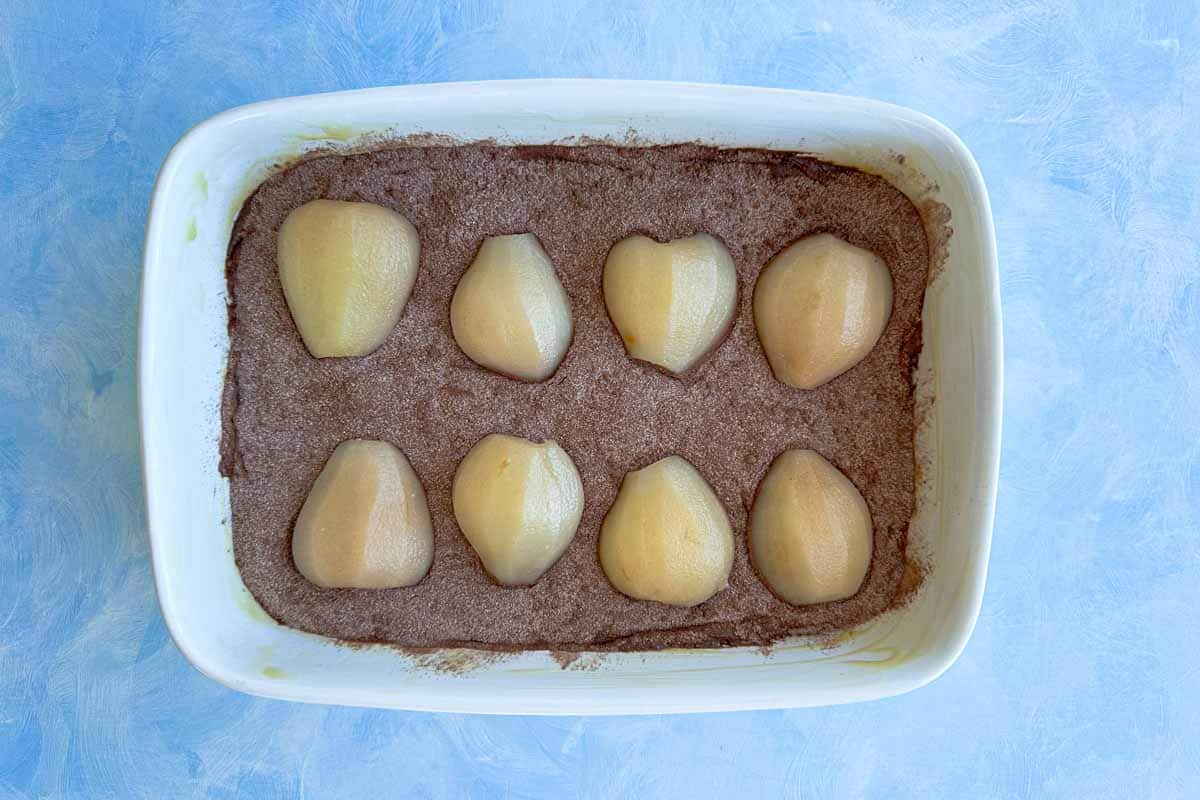
Spread the batter evenly into the prepared baking dish. Sprinkle the sugar and cocoa mixture evenly over the top of the pudding.
Add the pears and sauce
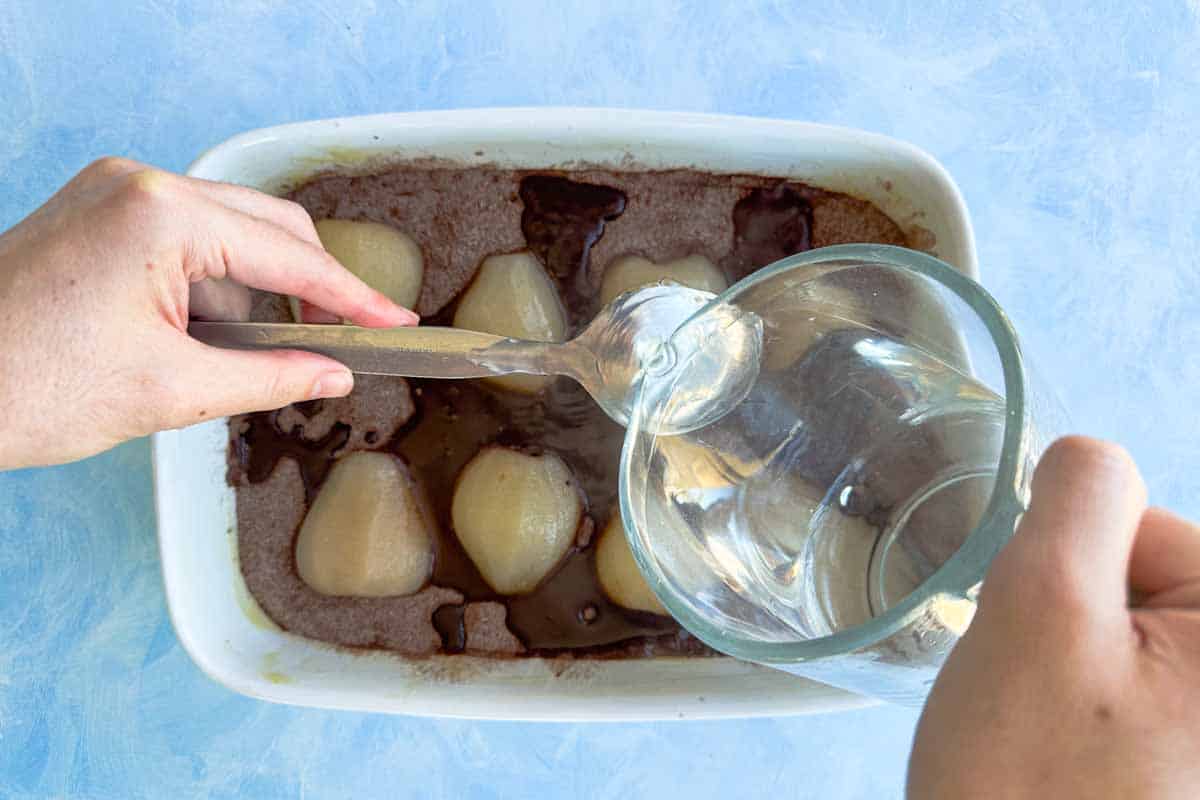
Nestle the poached pears into the batter, spacing them evenly. Carefully pour 250 ml (1 cup) boiling water over the pudding, using the back of a spoon to avoid disturbing the surface.
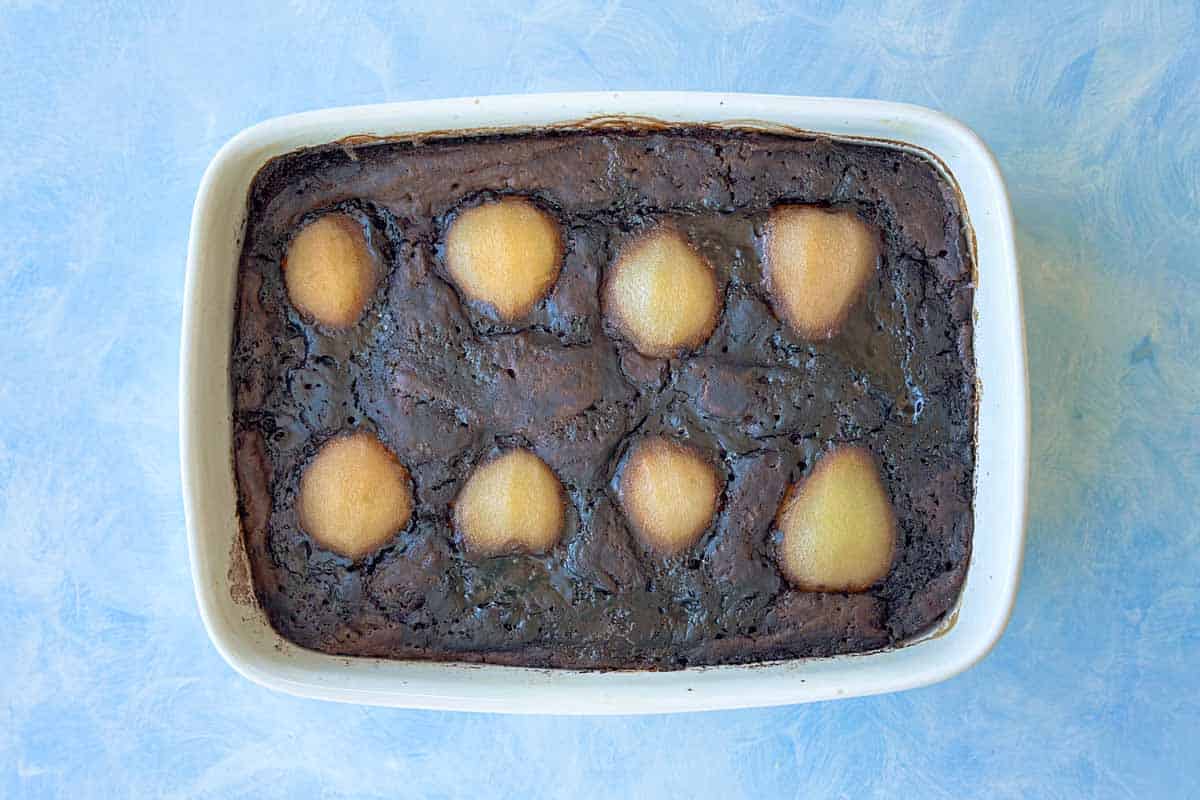
Chef's Tip: Don't worry if the pudding looks unusual before baking. The liquid will sink down during cooking and transform into a rich, fudgy chocolate sauce beneath the cake. That's the "self-saucing" magic!
Bake
Bake in the preheated oven for 35-40 minutes, until the top is set and springy. A rich chocolate sauce will form underneath the pudding.
Serve
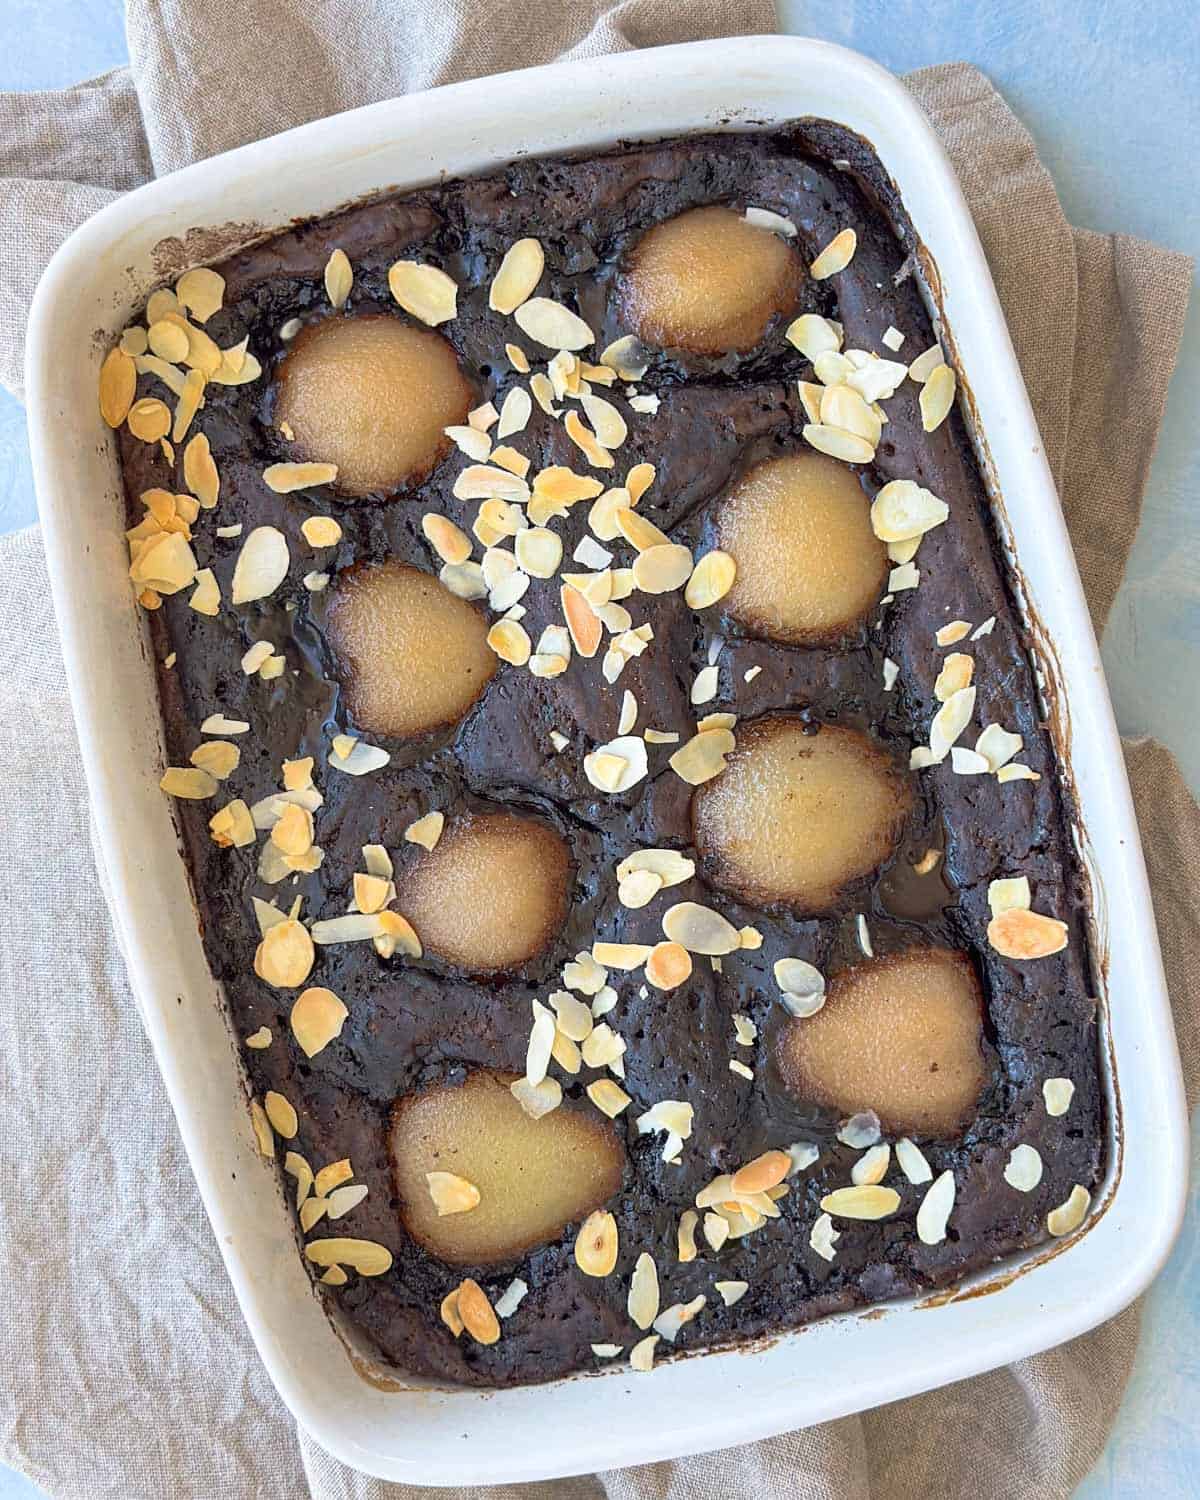
Dust lightly with cocoa powder and serve warm with vanilla ice cream, extra chocolate sauce, and toasted almonds.
Flavor Variations and Add-Ins
If you want to change things up, here are a few easy ideas
- Make it without pears for a classic pudding.
- Add chocolate chips to the batter for extra richness.
- Mix in a teaspoon of instant espresso powder to deepen the chocolate flavor.
- Sprinkle toasted pecans, hazelnuts, or almonds into the batter for crunch.
- Add orange zest for a citrusy twist.
What to Serve with This Self Saucing Chocolate Pudding
This pudding pairs well with a few finishing touches
- A drizzle of warm custard or lightly whipped cream.
- A scoop of vanilla, chocolate, or coffee ice cream.
- Sauces like homemade chocolate sauce or caramel sauce.
Storage Instructions
Self-saucing puddings are best enjoyed fresh, but here's how to store leftovers
Fridge - Store covered in the fridge for up to 3 days. The sauce will thicken as it chills.
Not freezer friendly - Freezing is not recommended as the sauce absorbs into the pudding.
How to Reheat
- Oven: Warm at 160°C (325°F) for 10-15 minutes. Add a splash of hot water if you want more sauce.
- Microwave: Heat individual portions for 20-30 seconds until warm.
FAQ's
A : A self-saucing pudding starts as a simple batter topped with a mixture of sugar and cocoa, then finished with boiling water. As it bakes, the liquid sinks to the bottom and transforms into a warm, glossy chocolate sauce, while the batter rises into a soft, cake-like top layer. It's a clever bit of kitchen science that requires no extra steps or separate sauces.
A : You can enhance the flavor by adding espresso powder, orange zest, toasted nuts, or chocolate chips. Serving it with vanilla ice cream, whipped cream, or a drizzle of homemade chocolate sauce also adds a lovely finishing touch. Seasonal variations - like adding poached pears - make the dessert feel extra special.
A : It's called "self-saucing" because the sauce forms on its own during baking. The hot water poured over the batter dissolves the sugar and cocoa mixture underneath, creating a luscious chocolate sauce while the top bakes into a tender pudding.
A : This dessert has humble origins and was historically made with inexpensive pantry staples like flour, sugar, butter, and cocoa. Despite its simplicity, it produces a rich, comforting result - hence the nickname "poor man's pudding."
A : If the pudding turns out dry, it's usually because it was baked a little too long or too much water was absorbed into the batter. Oven temperatures can vary, so start checking a few minutes early. Also make sure the boiling water is added gently so it sits on top and doesn't mix into the batter. Either way, add a scoop of vanilla ice cream and it will still be delicious.
A : Yes! Simply leave out the pears for a classic chocolate self-saucing pudding. The recipe bakes perfectly with or without fruit.
A : You can assemble the dry and wet components separately, but the pudding should be assembled and baked just before serving so the sauce stays warm and fluid. Leftovers still taste delicious, but the sauce thickens as it cools.
More Dessert Recipes
Looking for more cozy desserts? Try one of our seasonal sweet treats!
- Easy Yogurt Parfait Recipe (Healthy Breakfast or Snack)
- Strawberry Compote Recipe
- Homemade Chocolate Salami - The Perfect Edible Gift
- Italian Almond Biscotti Recipe


Quick Summary
This Chocolate Self Saucing Pudding with Poached Pears is a warm, comforting dessert made with simple pantry staples and no mixer required. As it bakes, it creates its own rich chocolate sauce under a soft cake layer. Perfect for family gatherings, holidays, or an easy weeknight treat.

If you love warm, chocolatey desserts that feel both nostalgic and a little fancy, this pudding is a must-bake. The poached pears add a beautiful touch, and the sauce makes every spoonful irresistibly decadent. We hope you enjoy it as much as we do!
Let us know how it turns out in the comments below - and don't forget to Pin the recipe for later.
Print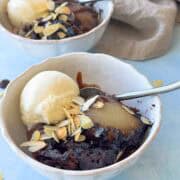
Chocolate Self Saucing Pudding with Poached Pears
- Total Time: 55 minutes
- Yield: 6-8
- Diet: Vegetarian
Description
Chocolate Self Saucing Pudding is the kind of warm, cozy dessert that feels right at home during the holidays or on a chilly evening. This simple pudding creates its own rich chocolate sauce as it bakes - and pairing it with tender poached pears makes it extra special. Made from pantry staples and no mixer required.
Ingredients
For the pudding:
220 g (1 cup) caster sugar, divided
50 g (½ cup) unsweetened cocoa powder, divided (plus extra for dusting)
150 g (1 cup) self-raising flour
60 g (¼ cup) unsalted butter, melted and cooled
125 ml (½ cup) milk
½ teaspoon vanilla extract
1 large egg
4-6 poached pears (see our How to Poach Pears recipe)
250ml (1 cup) boiling water
Instructions
1. Preheat the oven
Heat your oven to 180°C (350°F). Lightly butter a 30 x 20cm (13'' x 9'') baking dish.
2. Mix the dry ingredients
In a small bowl combine ½ cup (110 g) caster sugar, and ¼ cup (25 g) cocoa powder, set aside. In a large bowl, sift together the self-raising flour and ¼ cup (25 g) cocoa powder. Mix in the remaining ½ cup (110 g) caster sugar.
3. Combine the wet ingredients
In a separate bowl, whisk together the melted butter, milk, vanilla extract, and egg until combined.
4. Make the batter
Pour the wet mixture into the dry ingredients and mix until just combined (do not overmix). The batter should be thick.
5. Make the pudding base
Spread the batter evenly into the prepared baking dish. Sprinkle the sugar and cocoa mixture evenly over the top of the pudding.
6. Add the pears and sauce
Nestle the poached pears into the batter, spacing them evenly. Carefully pour 250 ml (1 cup) boiling water over the pudding, using the back of a spoon to avoid disturbing the surface.
Chef's Tip: Don't worry if the pudding looks unusual before baking. The liquid will sink down during cooking and transform into a rich, fudgy chocolate sauce beneath the cake. That's the "self-saucing" magic!
7. Bake
Bake in the preheated oven for 35-40 minutes, until the top is set and springy. A rich chocolate sauce will form underneath the pudding.
8. Serve
Dust lightly with cocoa powder and serve warm with vanilla ice cream, extra chocolate sauce, and toasted almonds.
Notes
Fridge: Store covered for up to 3 days.
Not freezer friendly.
How to Reheat: Warm in the oven for 10-15 minutes or microwave individual portions for 20-30 seconds.
Serve with Vanilla ice cream, toasted Flaked almonds and Homemade Chocolate Sauce
- Prep Time: 15 minutes
- Cook Time: 40 minutes
- Category: Dessert
- Method: Baked
- Cuisine: French
Nutrition
- Serving Size: 1 serving
- Calories: 312
- Sugar: 36.5 g
- Sodium: 244.1 mg
- Fat: 7.8 g
- Carbohydrates: 59.2 g
- Protein: 4.7 g
- Cholesterol: 39.7 mg
The nutrition is an estimate only. It was calculated using Nutrifox, an online nutrition calculator.



Leave a Reply